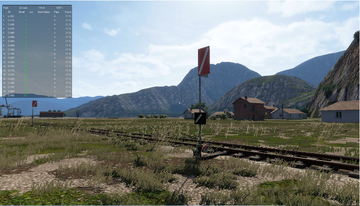
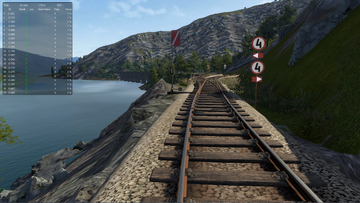
Locomotive load rating chart
| Name | Standard Name | Max Load | L2 Speed | Temperature/
Pressure |
L3 Speed | Temperature/
Pressure |
Driving Review |
|---|---|---|---|---|---|---|---|
| DE2 | 300 | 9 | 118 | 11 | 115 | Quite easy to drive, quick to overheat at low speed, best at +40kmh | |
| DE6 | 1600 | 10 | 116 | 13 | 118 | Also easy to drive hard to overheat especially with the DE6 slug | |
| DH4 | 800 | 8 | 117 | 18 | 115 | Extremely easier to drive than de-2, easy heat management | |
| DM3 | 960 | 3 | 116 | 5 | 116 | Sand limited so for longer continuing uphills its a good idea to derate 30-50%. Need to get used to gear management | |
| S282 | 1130 | 11 | +-14 | 13 | +-14 | Can take nearly any single job in the valley. Low cost if run efficiently | |
| s060 | 560 | 6 | +-12.5 | 11 | +-12.5 | Very capable in the early game, but small water tank requires regular refills. Low cost if run efficiently |
Methodology
Diesel
1-Testing start at location 1 with locomotive turned off and completely cooled to minimum shown temperature, no brakes.
2-Engine turned on and maximum power using sand if temperature allows and advantageous*
Steam
1-Testing start at location 1 with locomotive at max pressure, water and temperature, no brakes.
2-Locomotive ran at its maximum possible power using sand if steam usage allows it and advantageous*
All
3-Record of speed and temperature at location 2
4-Record of speed and temperature at location 3
Video testing demonstration here: https://youtu.be/QqiHTFZ3VDE
*500t weight only used for locomotives above 3kt load rating, until L2 set temperature is 118°C, after passing it with stable speed power is reduced for momentary 104°C temperature to reduce accumulation of catastrophic damage change, after passing point after the tunnel set temperature becomes 115°C. Note: Depending on locomotive using start location in the other end of harbour will net higher max load rating Test weights used: 10-500t Weight set https://www.nexusmods.com/derailvalley/mods/584


